Short guide about setting up groups and roles
Published by Djordje Grubac, Employee at Tallyfox
Groups are number of related experts, which share same interests. In Tallium, groups provide easy way to organize teams, team members will know where to create the content, and groups are adding top level content filter in Explore page.
Creating groups
Login into the platform.
Click on
 groups button in the left-hand side navigation.
 In groups, click on
 button.
 Enter the name for group, and select category, if necessary.
Click on Submit button to create the group.
After the group is created, you can start adding members, and set group preferences.
Adding Members
Login into the platform.
Click on
 groups button in the left-hand side navigation.
 Find group that you wish to manage, and click on group name.
After redirecting to Group, click on
 , and select Manger Panel from dropdown.
 Click on Member Management, and then on Members.
Click on
 to create new member. New modal window will appear.
 Enter user’s first name, last name, and email address. Leave Send invitation option checked. That way user will receive email, and it will need to validate his account.
Click on Save button to complete the process.
NOTE: Activation email link is valid for 24 hours, after that period link is not valid!
Editing users
To edit user:
Login into the platform.
Click on
 , and select Manger Panel from dropdown.
 Click on Member Management, and then on Members.
In Members Panel, find user that you need to edit, and click on
 icon.
icon. In Edit profile window are available options:
Basic Info
Industry Expertise
Industry Experience
Contact Info
Summary
Roles
Email & Password
Change options, and click on Finish button to save the changes.
Roles
By default, all newly created members will have user role. User role allows members to access group, create content inside groups, and to post comments on created content.
Predefined roles
ROLE_USER: User that is logged in. Can view and create content (create articles, blogs, discussions, upload files etc.) * on instance and/or group.
ROLE_ANONYMOUS_USER: Non-logged user. Can only view the content if instance or groups are publicly visible. Cannot create content, leave comments…
ROLE_INSTANCE_MANAGER: Logged in user that can create, edit and delete content on instance, and can add, delete or edit members on instance level.
ROLE_INSTANCE_MODERATOR:
ROLE_INSTANCE_EDITOR: Logged in user that can create, edit and delete only articles that he have created.
ROLE_INSTANCE_ADMINISTRATOR: Logged in user that can create, edit and delete content on instance and groups, and can add, delete or edit members on instance level.
* - depending what content(Features) are enabled
Group Privacy Settings
Privacy settings allows managers to set group or instance visibility, content visibility and to manage membership settings.
To access Privacy settings:
Login into your platform
Click on
 , and select Manger Panel from dropdown.
 In Manager Panel click on Privacy option in the left side panel.
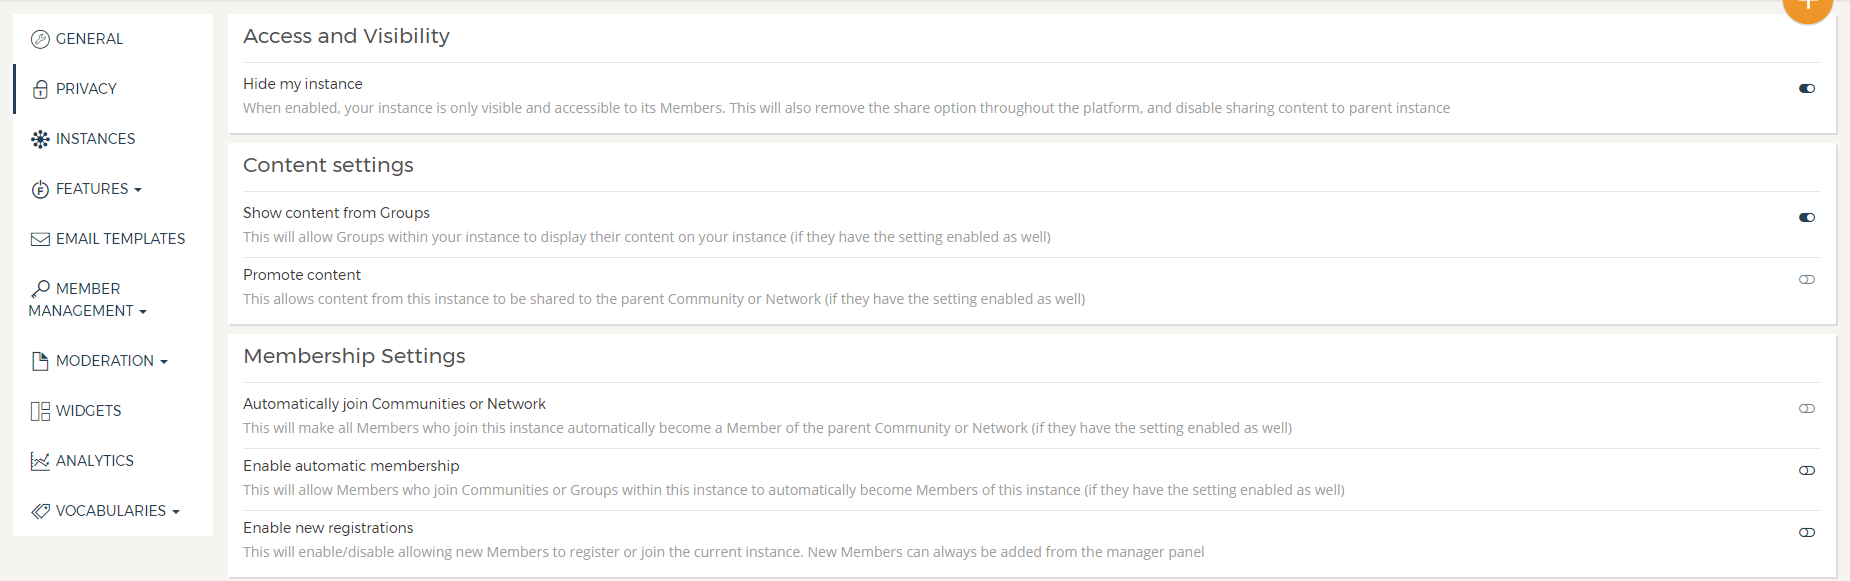
Access and Visibility
Hide my instance - Instances can be hidden, so content and instance access will not be visible to anonymous users, or members that are not members of that instance or group. Content sharing will not be possible.
Turn on Hide my instance to enable this feature.
Content Settings
Show content from Groups – Content created inside the group will be visible on the instance. This can be overridden in single Group settings.
Promote content – Content created inside the group can be shared on the instance,
Membership Settings
Automatically join Communities or Network – If enabled, group members will automatically become parent instance or community members.
Enable automatic membership - Members who join Communities or Groups within this instance to automatically become Members of this instance (if they have the setting enabled as well).
Enable new registrations – If enabled, anonymous users will be able to register and join communities or groups.